3D Log - Week 1

I'm starting this series, where I take everything I learned about 3D modeling and 3D printing in a week and share it with the world. In this series, I will always divide the log into two parts: modeling and printing. Sometimes the topics may overlap, but I find this way much more manageable on my end.
3D Printing
Last year, I got an Elegoo Saturn 4 Ultra, a SLA 3D printer, which sounded amazing from what I'd gathered online. But since I was working and finishing college, I had no time actually to use it.
It all changed this week. Since I'm on vacation, I've started playing with it, and already learned several things:
- The first layers of a resin 3D printing take longer to cure, because they must solidify to hold the entire print's weight. Be careful not to overcompensate the base layers' exposure time, as it makes decoupling the model piece from the build plate stressful and time-consuming.
- Supports are necessary. Even if the piece is flat and the printer could print it without supports, use supports anyway just to be sure, so that it does not touch the build plate directly. It's better to waste some resin than to break the piece when removing it from the build plate.
- Taking models out of the plate is hell. It takes a long time to chisel everything off, especially with larger models. Supports shine here, because they make taking the models themselves out really easy, at the cost of being difficult to remove themselves.
- Artists design most models available online for FDM printing, so as I use SLA, they almost always need some adjustment. This often involves creating holes in the models before printing.
- You must pay for nicer models, and even more if they are custom, so if you are considering 3D printing as an investment to sell the results, you should be prepared to pay for it.
- The type of resin you use directly impacts your printing settings, your printing time, and the amount of money left in your wallet. I've started with Elegoo 8K Water-Washable Photopolymer Resin, but will soon look into plant-based resins, which are less environmentally damaging.
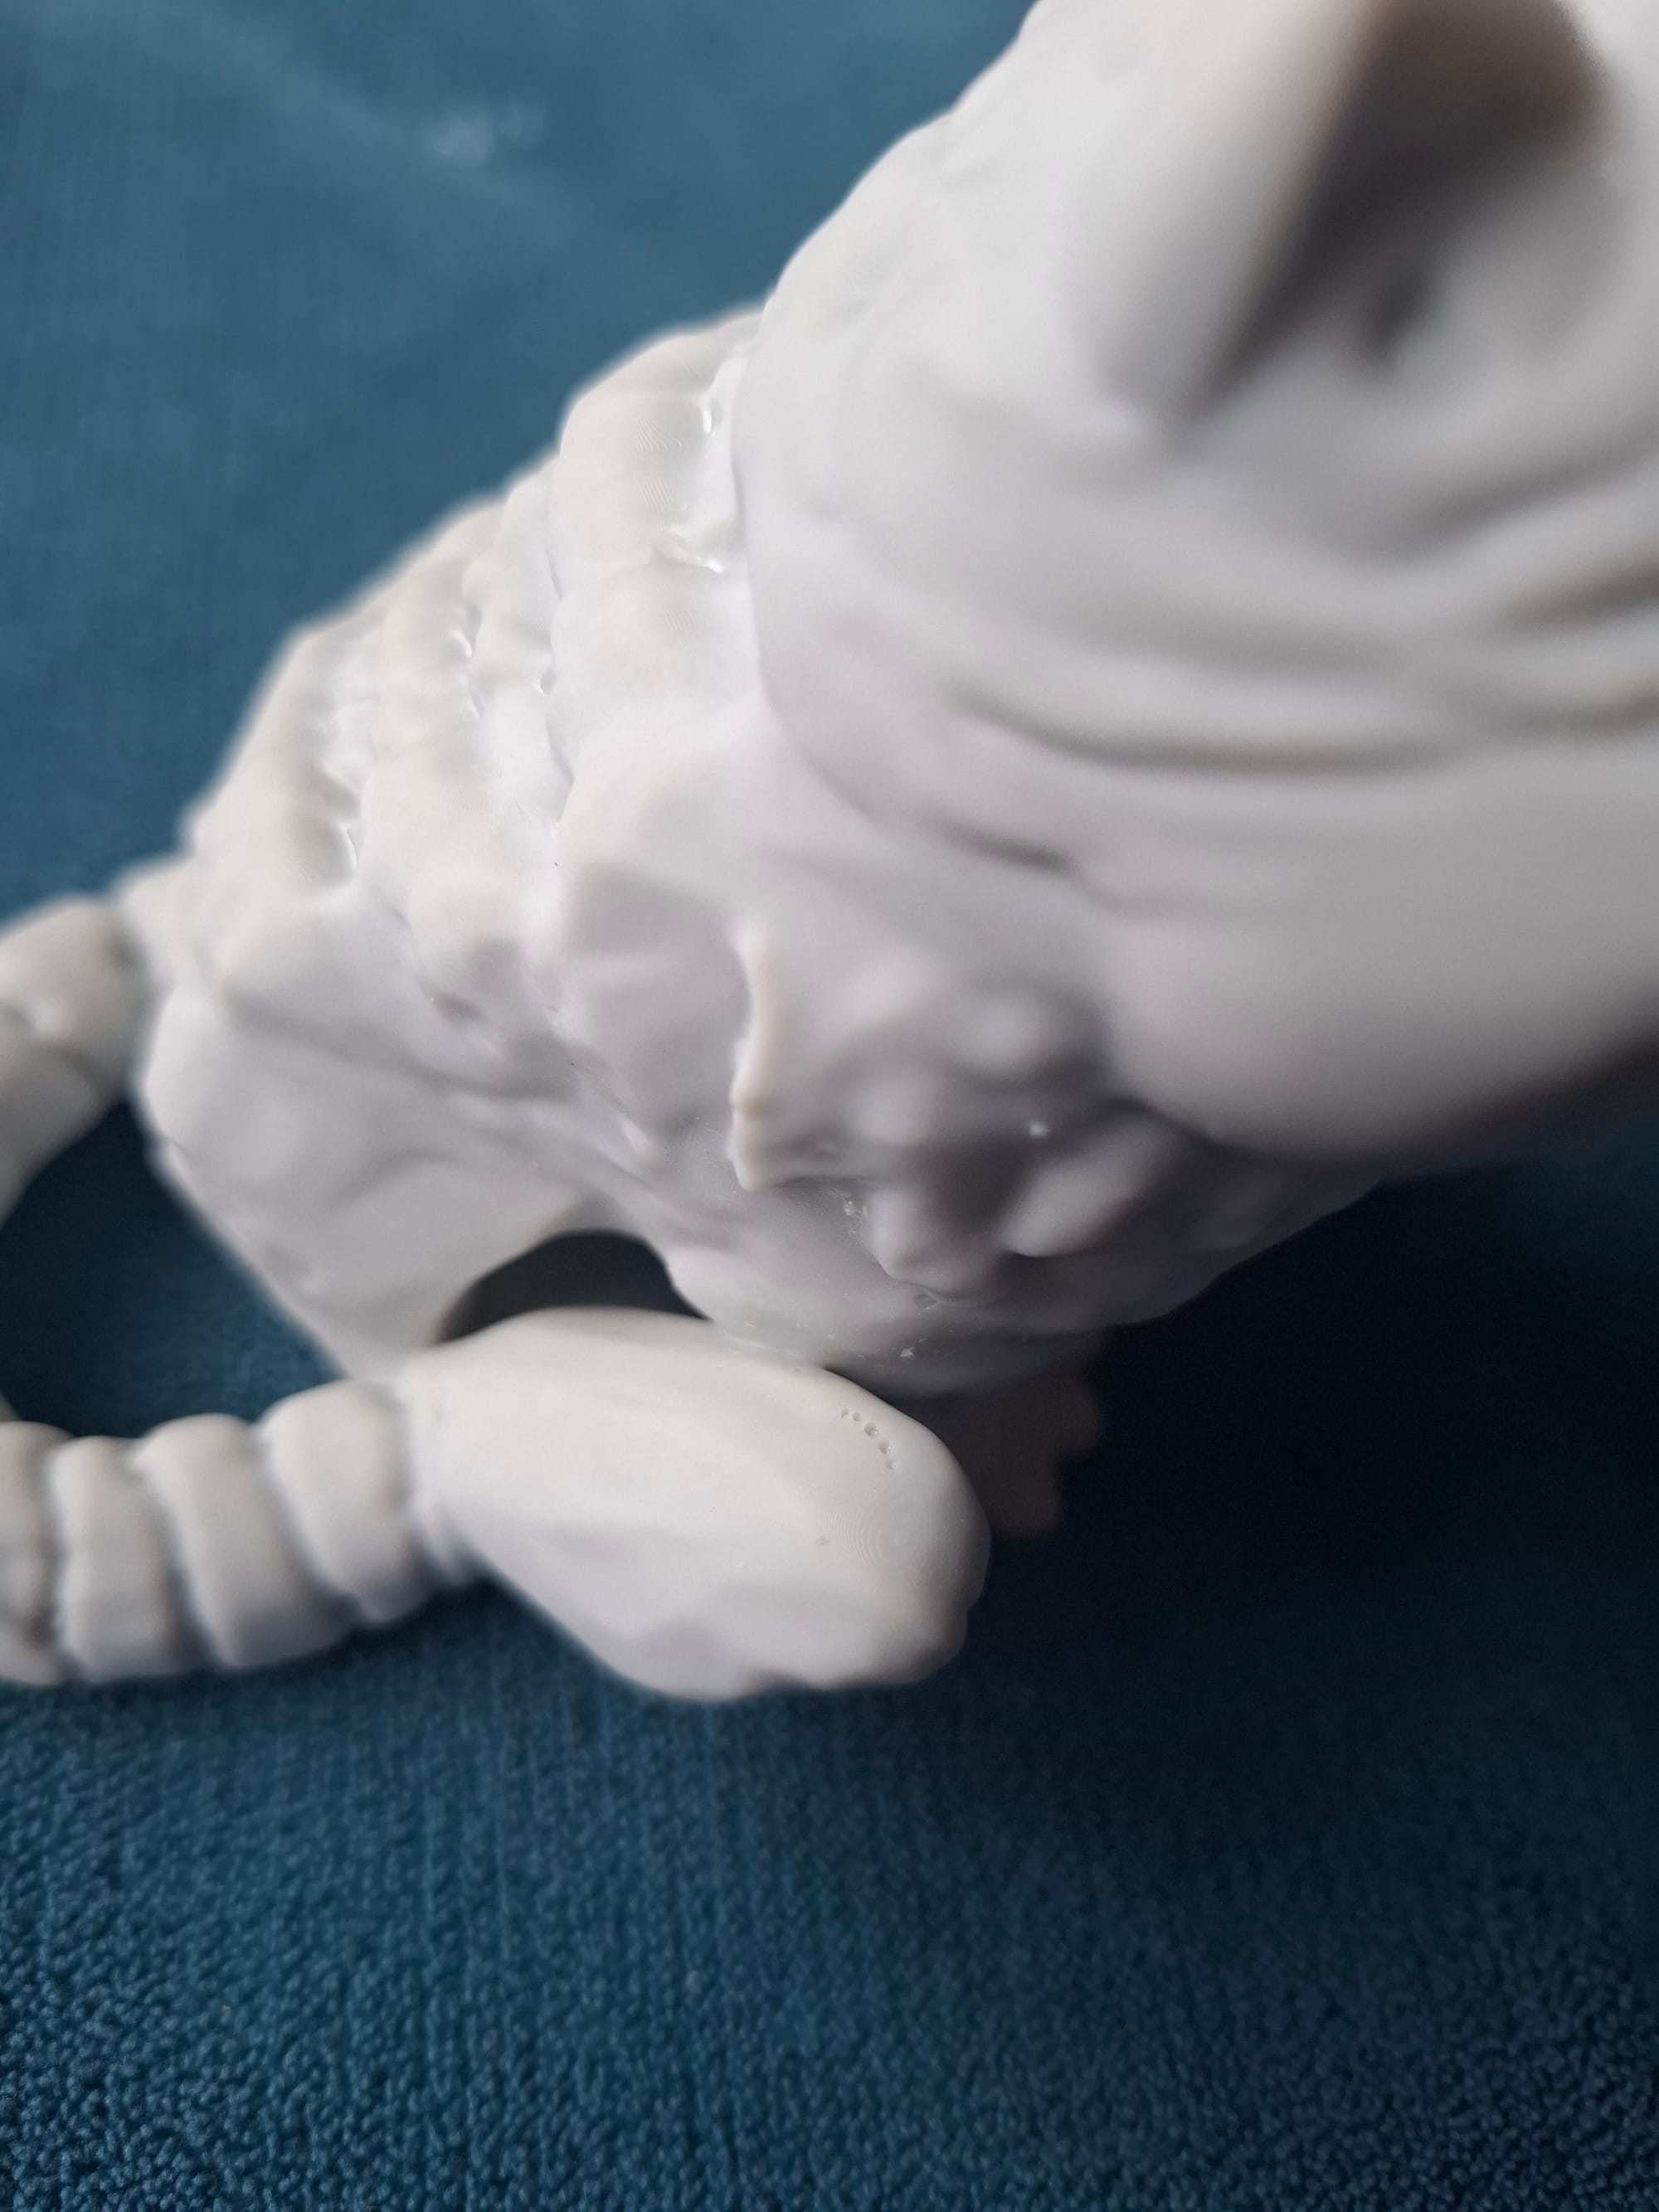
- Don't cure models before washing and thoroughly drying them. Not doing so leaves marks on them and reduces the overall quality (Check my Hollow Knight's right eye below, it has some marks left by water in it).
- Take care of how you dispose of resin and wastewater. Both are toxic and should not be disposed of down the drain. For resin, you should cure it totally and dispose of it in its solidified state, which is inert. For wastewater, leave it in a bucket in the sun until it evaporates, even if it takes some time. More info here.
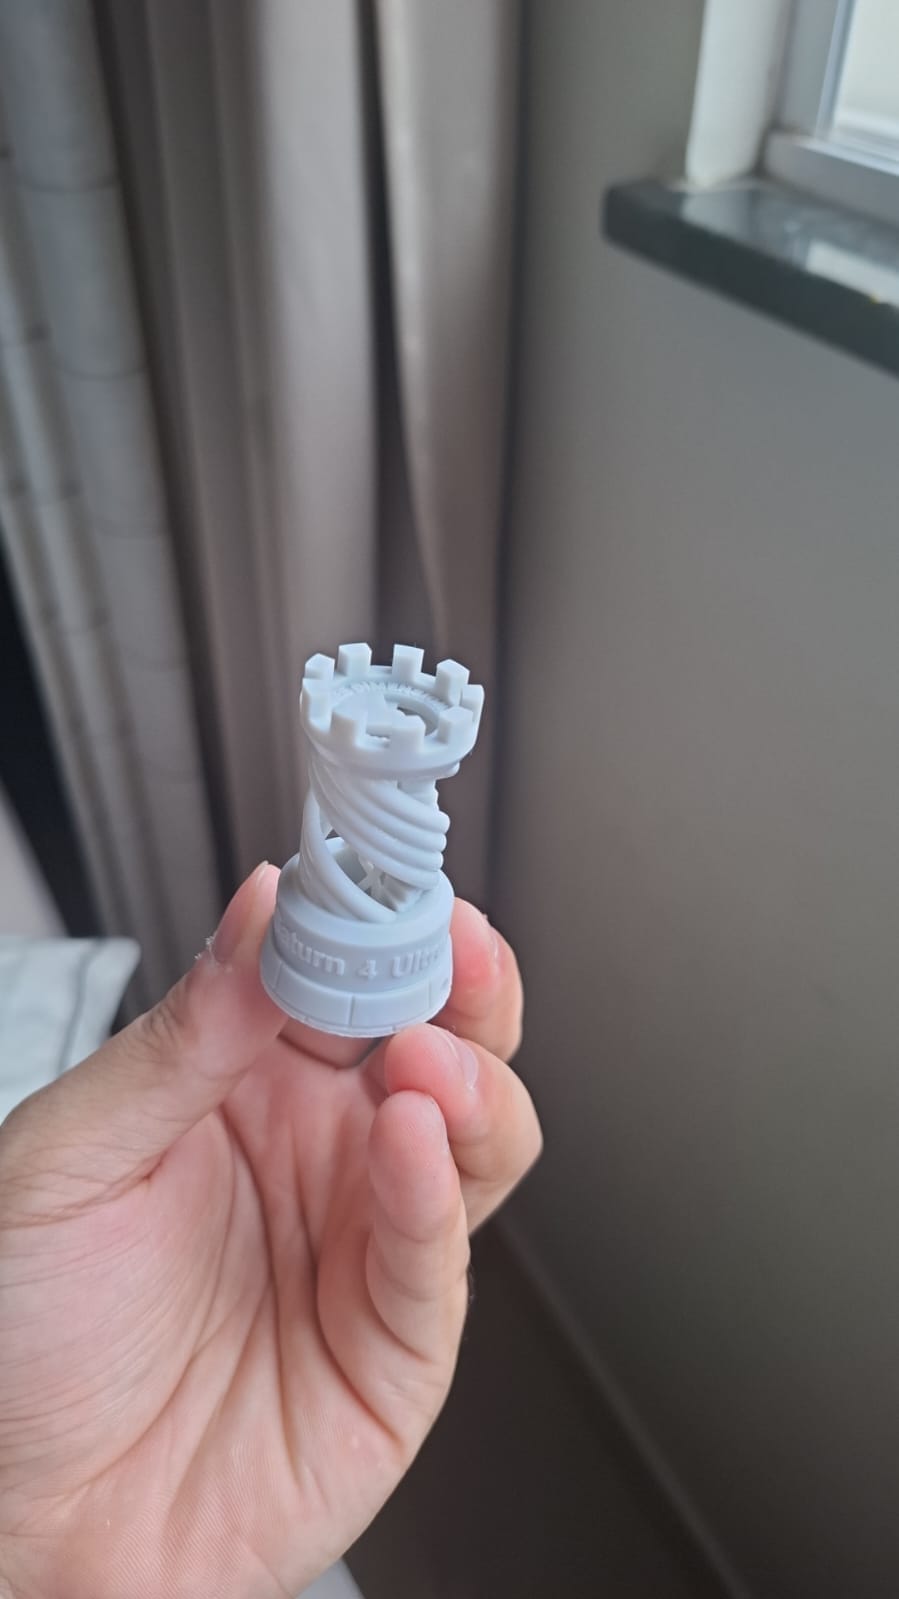
All things considered, I've printed some adorable things and learned a lot. Some of my recent pieces are:

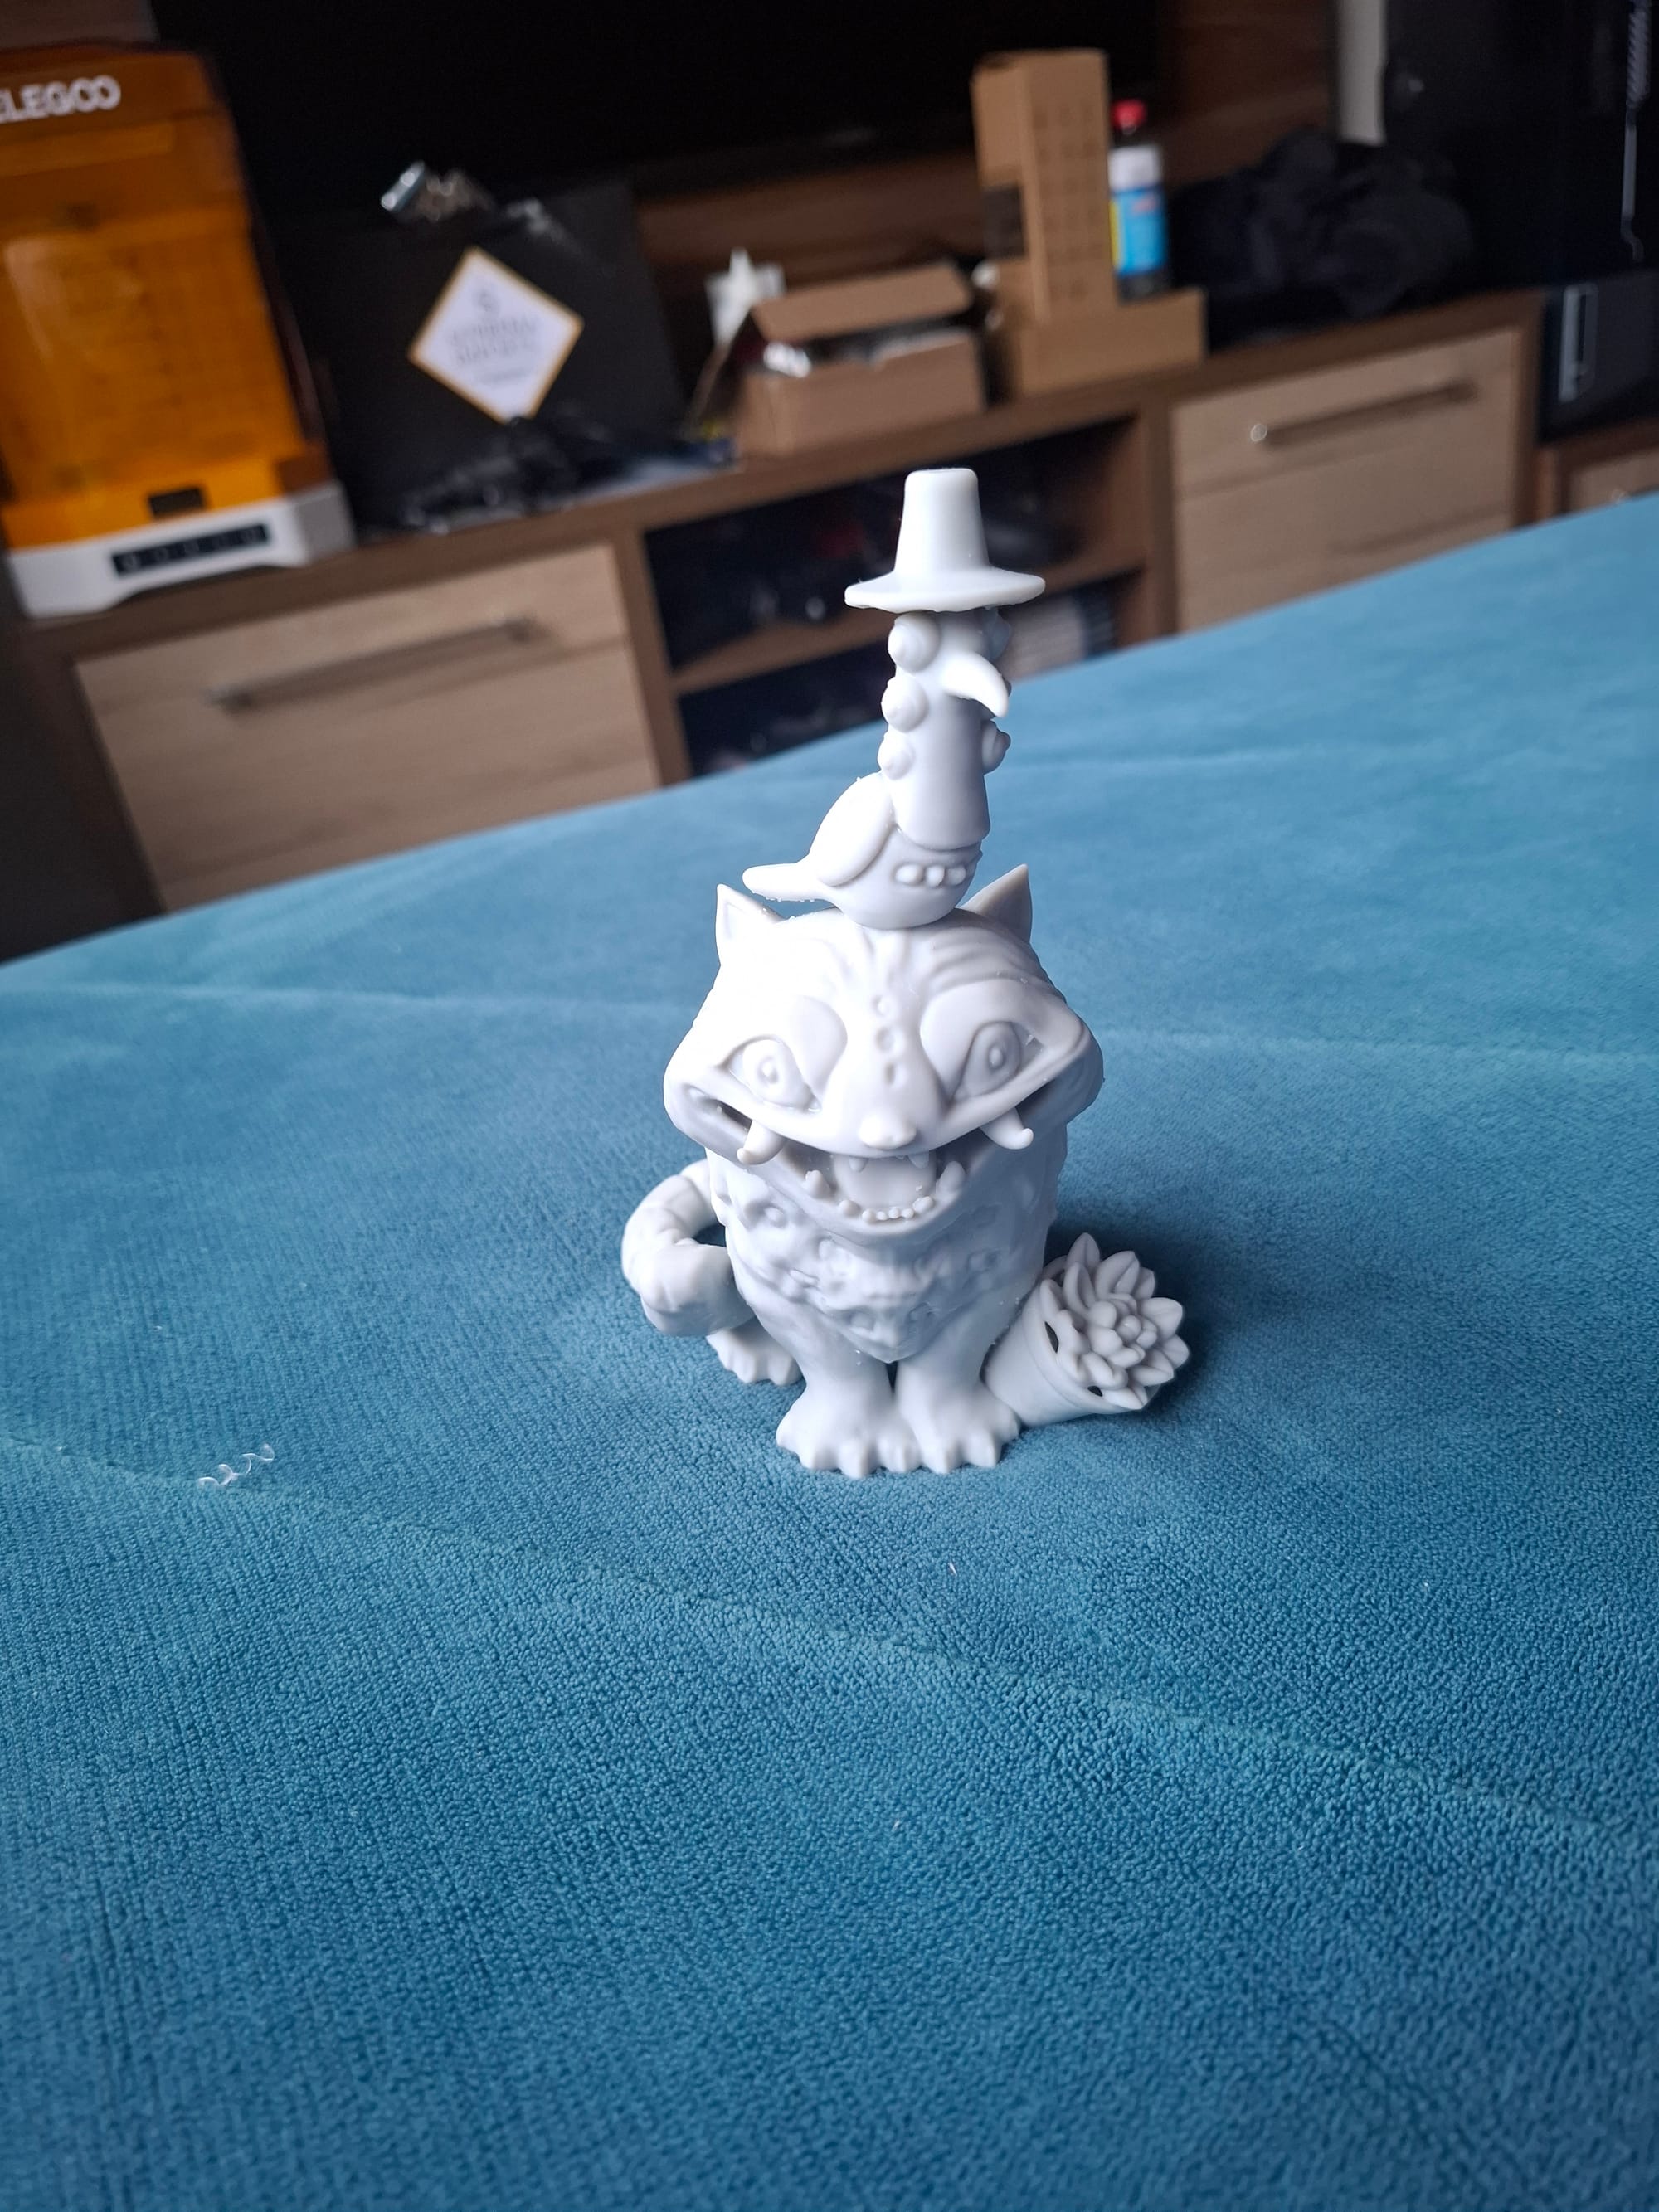
Something I was not expecting was the presence of artifacts. The Jinu's Demon Tiger print ended up with a minor artifact, some holes in the model's tail end. It must've been because of some problems with my settings. It was also my largest model to date, so maybe the settings depend on model size. It could also be related to the resin I'm using.
3D Modeling
This first week, my modeling skills have improved a little. The software I chose to learn is Blender, because it's free and open source, although it has a steep learning curve. The last time I used 3D software was Cinema 4D, to create an intro for my long-gone YouTube channel when I was a kid, so this was quite a challenge.
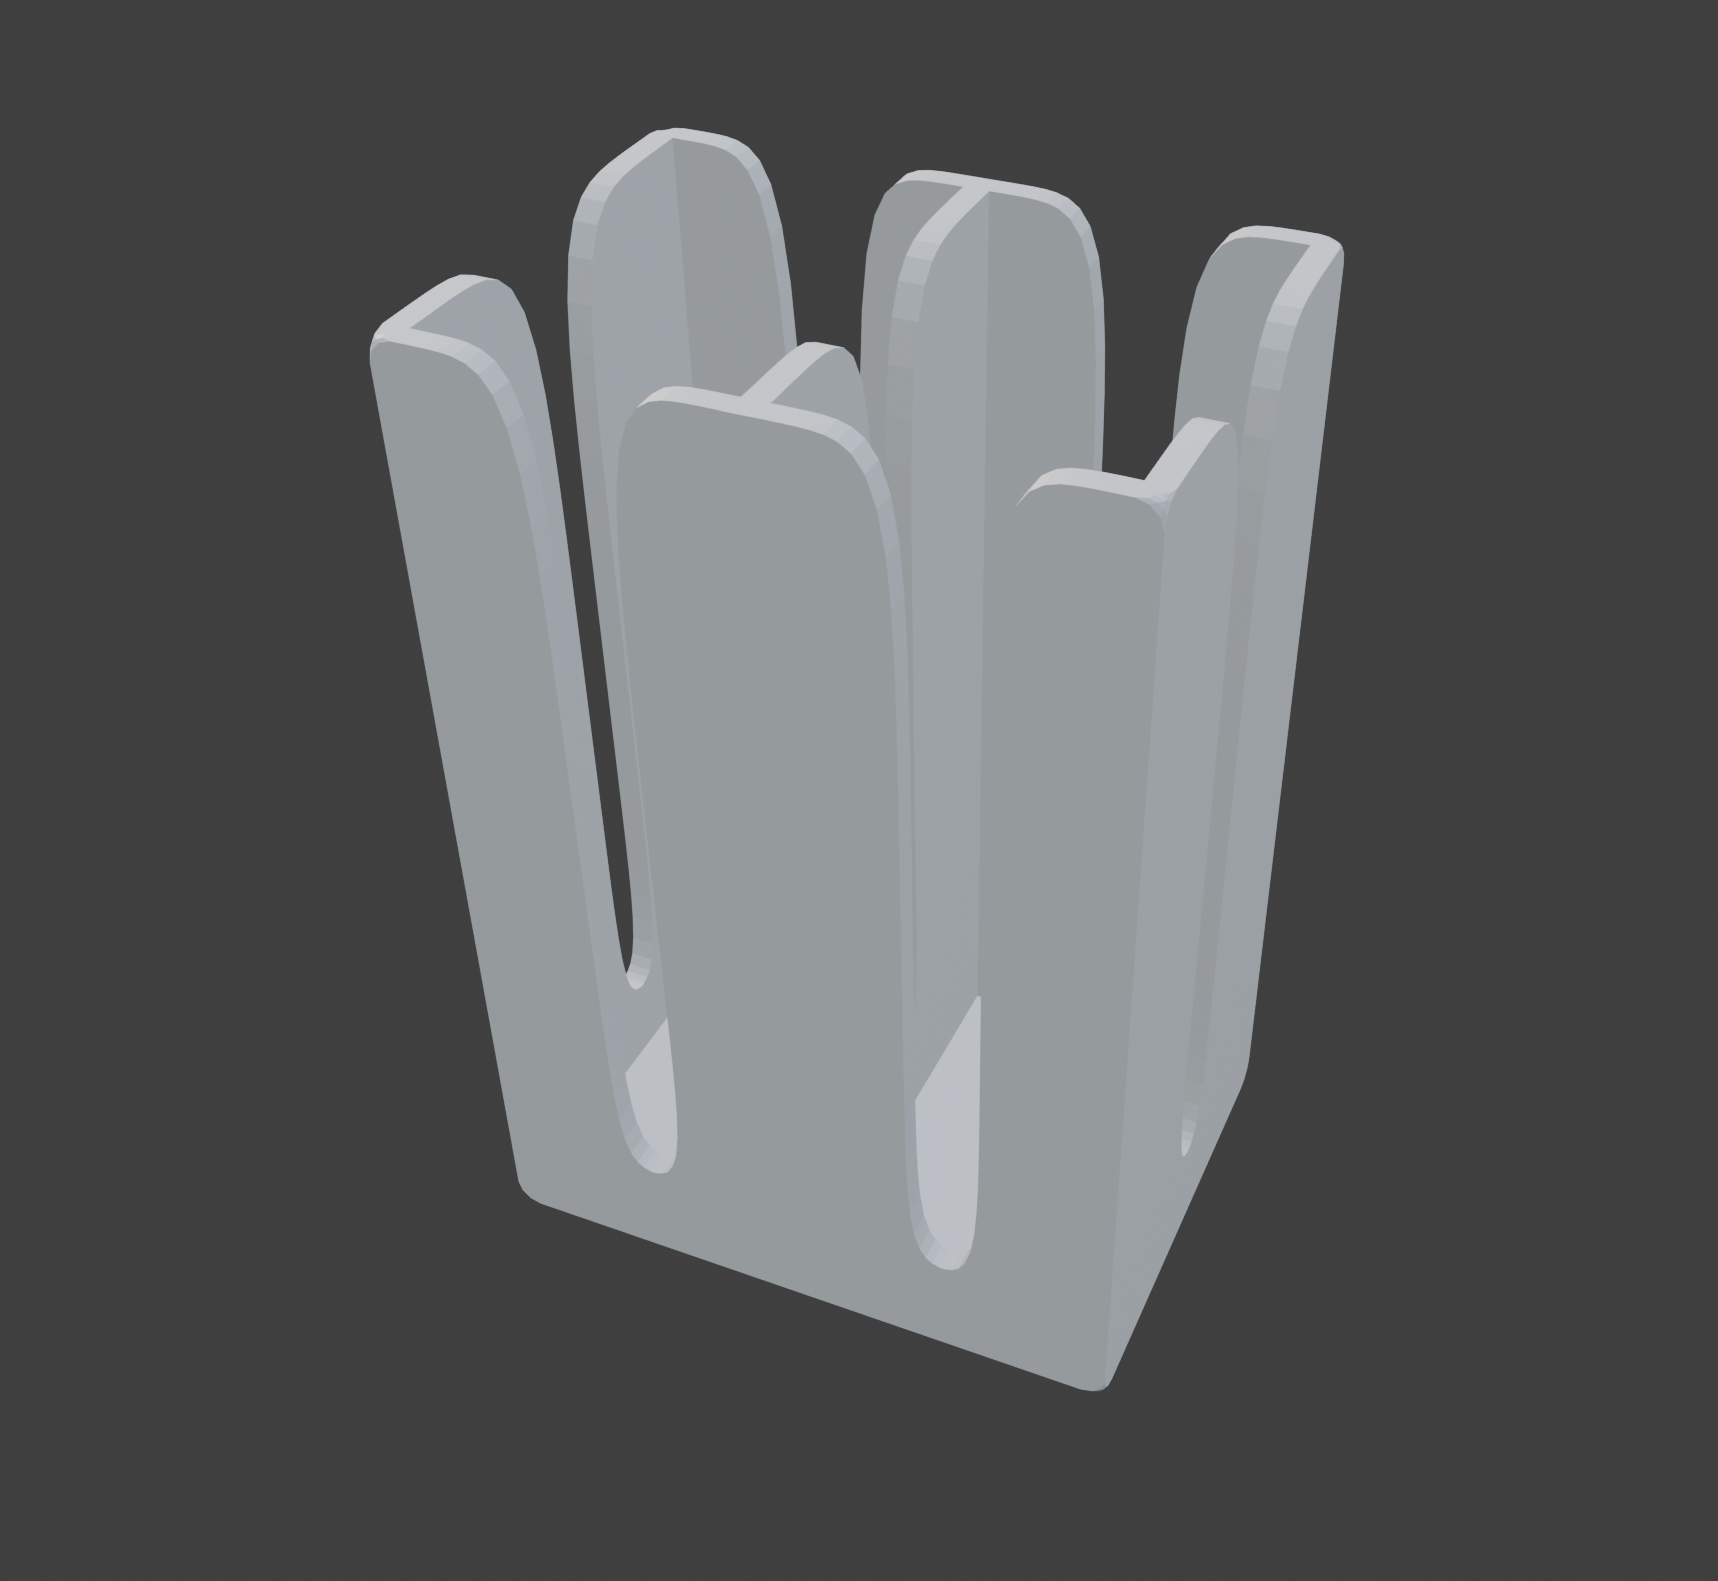
Googling has taken me a long way in Blender so far, and I've already designed a card box for my boyfriend to hold his Munchkin cards. It took me too long to make something I see as too simple, but it's my first 3D model, so cut me some slack.
I will move forward with some free courses from CGCookie and several resources I've gathered from Awesome Blender. Here are some random facts I've also taken note of:
- Exporting models from Blender requires rescaling by 1000x to import them correctly into LycheeSlicer.
- Topology for 3D modeling is essential. If not considered, things get messy pretty quickly, as it turns every new object modifier into a challenge.
I'm also going to explore using AI models to generate 3D models, as in this video. The combo of Nano Banana Pro + Hitem3D seems promising, even if it turns out to be useful only for small stuff.